As an Amazon Associate, I earn from qualifying purchases.
Roof fans are a staple in many homes, giving solace and energy effectiveness. However, there comes a time when you may need to remove your Hunter ceiling fan, whether for cleaning, repair, or replacement.
Knowing how to do this properly ensures a smooth process and prevents potential mishaps. The guide will walk you through the steps toward securely and proficiently eliminating a Tracker roof fan.
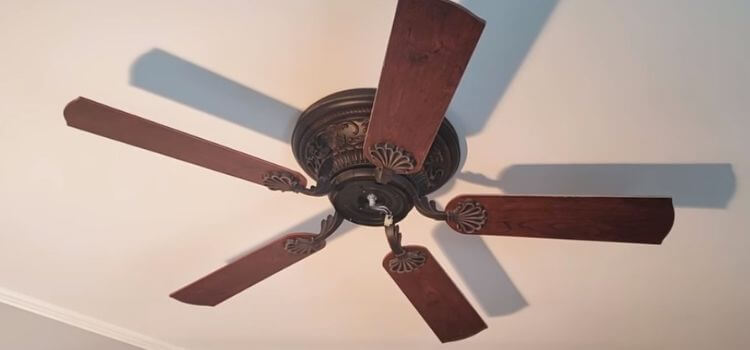
Brief Overview of Hunter Ceiling Fans
Hunter ceiling fans are renowned for their quality, durability, and stylish designs. With a history dating back to the late 19th century, Hunter has consistently delivered innovative and reliable ceiling fan solutions.
Importance of Knowing How to Remove a Hunter Ceiling Fan
While installing a ceiling fan is a typical DIY project, understanding the removal process is equally crucial. This knowledge empowers homeowners to undertake maintenance tasks or upgrade their ceiling fans without relying on professional help.
Tools and Materials
List of Tools Needed
- Screwdriver
- Adjustable wrench
- Voltage tester
- Ladder
- Wire nuts
Required Materials for the Removal Process
- Patching compound
- Paint (matching ceiling colour)
- Cleaning supplies
Safety Precautions
Importance of Safety When Dealing with Electrical Appliances
Safety should always be the top priority when working with electrical appliances. Before starting, ensure you have the necessary safety gear, such as gloves and safety glasses.
Explicit Wellbeing Measures for Eliminating a Roof Fan
- Switch off the capacity of the fan at the electrical switch.
- Use a voltage tester to confirm that the power is off.
- Secure the fan blades to prevent accidental falls.
Turn Off the Power
Locate the Circuit Breaker: Identify the circuit breaker corresponding to the ceiling fan in your electrical panel.
Turn Off Power to the Ceiling Fan: Switch off the power to ensure a safe removal process.
Remove the Blades
Unscrewing Each Blade: Use a screwdriver to loosen and remove the screws securing each blade to the fan motor.
Checking for Any Additional Attachments: Inspect for any additional attachments holding the blades in place.
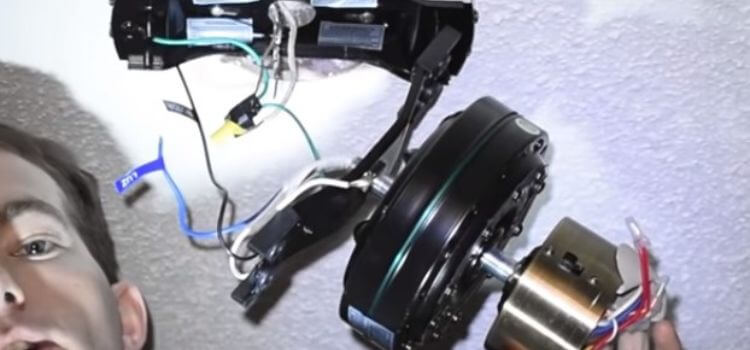
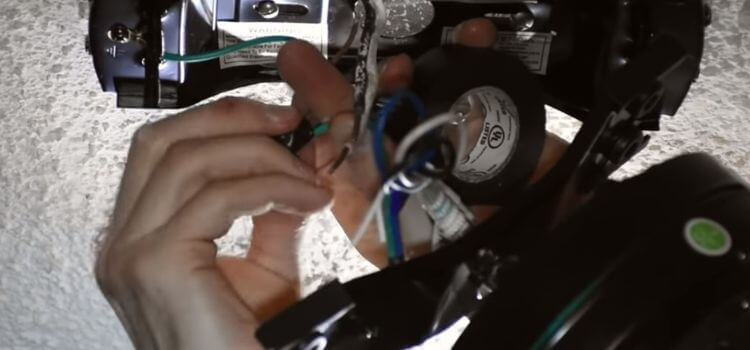
Disconnect Electrical Wiring
Identifying Wires: Understand the colour-coding of wires to facilitate proper reinstallation.
Safely Disconnecting Electrical Connections: Use wire nuts to disconnect and isolate the electrical connections.
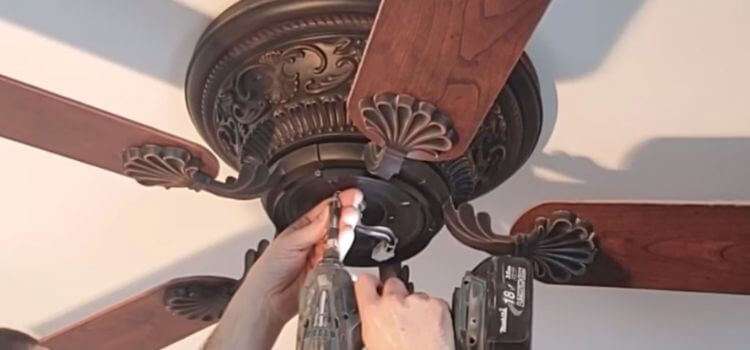
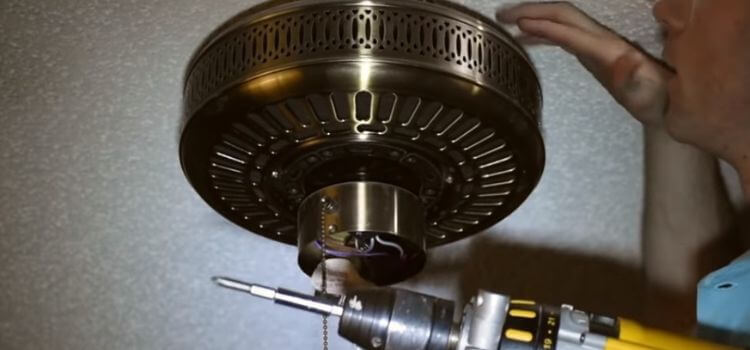
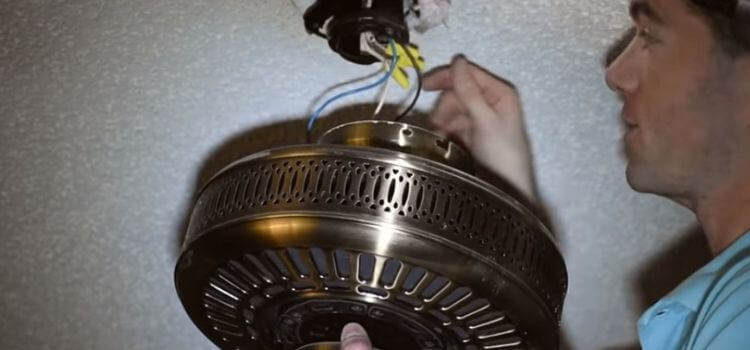
Remove the Mounting Bracket
Steps to Remove the Mounting Bracket: Follow specific steps to detach the mounting bracket from the ceiling.
Checking for Any Hidden Screws or Fasteners: Thoroughly inspect for any concealed screws or fasteners holding the bracket.
Patching and Repairing
Filling Holes Left by Screws: Apply patching compound to fill holes left in the ceiling.
Repairing Any Damage to the Ceiling: Address any damage caused during the removal process before painting.
Cleaning and Maintenance Tips
Cleaning the Fan Blades and Motor: Utilize proper cleaning supplies to eliminate residue and soil from the edges and engine.
General Maintenance Advice for Ceiling Fans: Regularly inspect and maintain your ceiling fan to prolong its lifespan.
Reinstallation Tips
Guidance on Reinstalling the Ceiling Fan: Follow manufacturer instructions for reinstalling the ceiling fan.
Double-Checking Electrical Connections: Ensure all electrical connections are secure before turning the power back on.
Recycling and Disposal
Eco-Friendly Disposal Options: Explore environmentally friendly disposal methods for fan components.
Proper Recycling Methods for Ceiling Fan Components: Dispose of old fan parts responsibly by recycling them where possible.
Common Issues and Troubleshooting
Addressing Common Problems During Removal: Troubleshoot common issues encountered during removal.
Troubleshooting Tips for a Smooth Removal Process: Anticipate and resolve potential challenges to ensure a smooth removal.
When to Seek Professional Help
Indicators That Removal May Require Professional Assistance: Recognize signs that removal might be beyond a DIY scope.
Choosing a Qualified Electrician or Handyman: Select a reputable professional for complex removal tasks.
Frequently Asked Questions
Yes, but follow safety guidelines and manufacturer instructions.
Allude to the investigating area or look for proficient assistance.
Fundamental instruments like a screwdriver and wrench are generally adequate.
Yes, ensure proper reinstallation and follow safety precautions.
Regular cleaning and maintenance are recommended every few months.
Conclusion
In conclusion, knowing how to remove a Hunter ceiling fan is valuable for homeowners. Following the outlined steps, you can safely disassemble the fan, address maintenance needs, and prepare for a new installation. Remember to prioritize safety, use the right tools, and consider professional assistance when needed.
As an Amazon Associate, I earn from qualifying purchases.
Leave a Reply